Import existing AWS resources into Terraform, step by step
Bring a click-built AWS account under Terraform with import blocks, generated config and terraform query, without recreating or breaking anything.
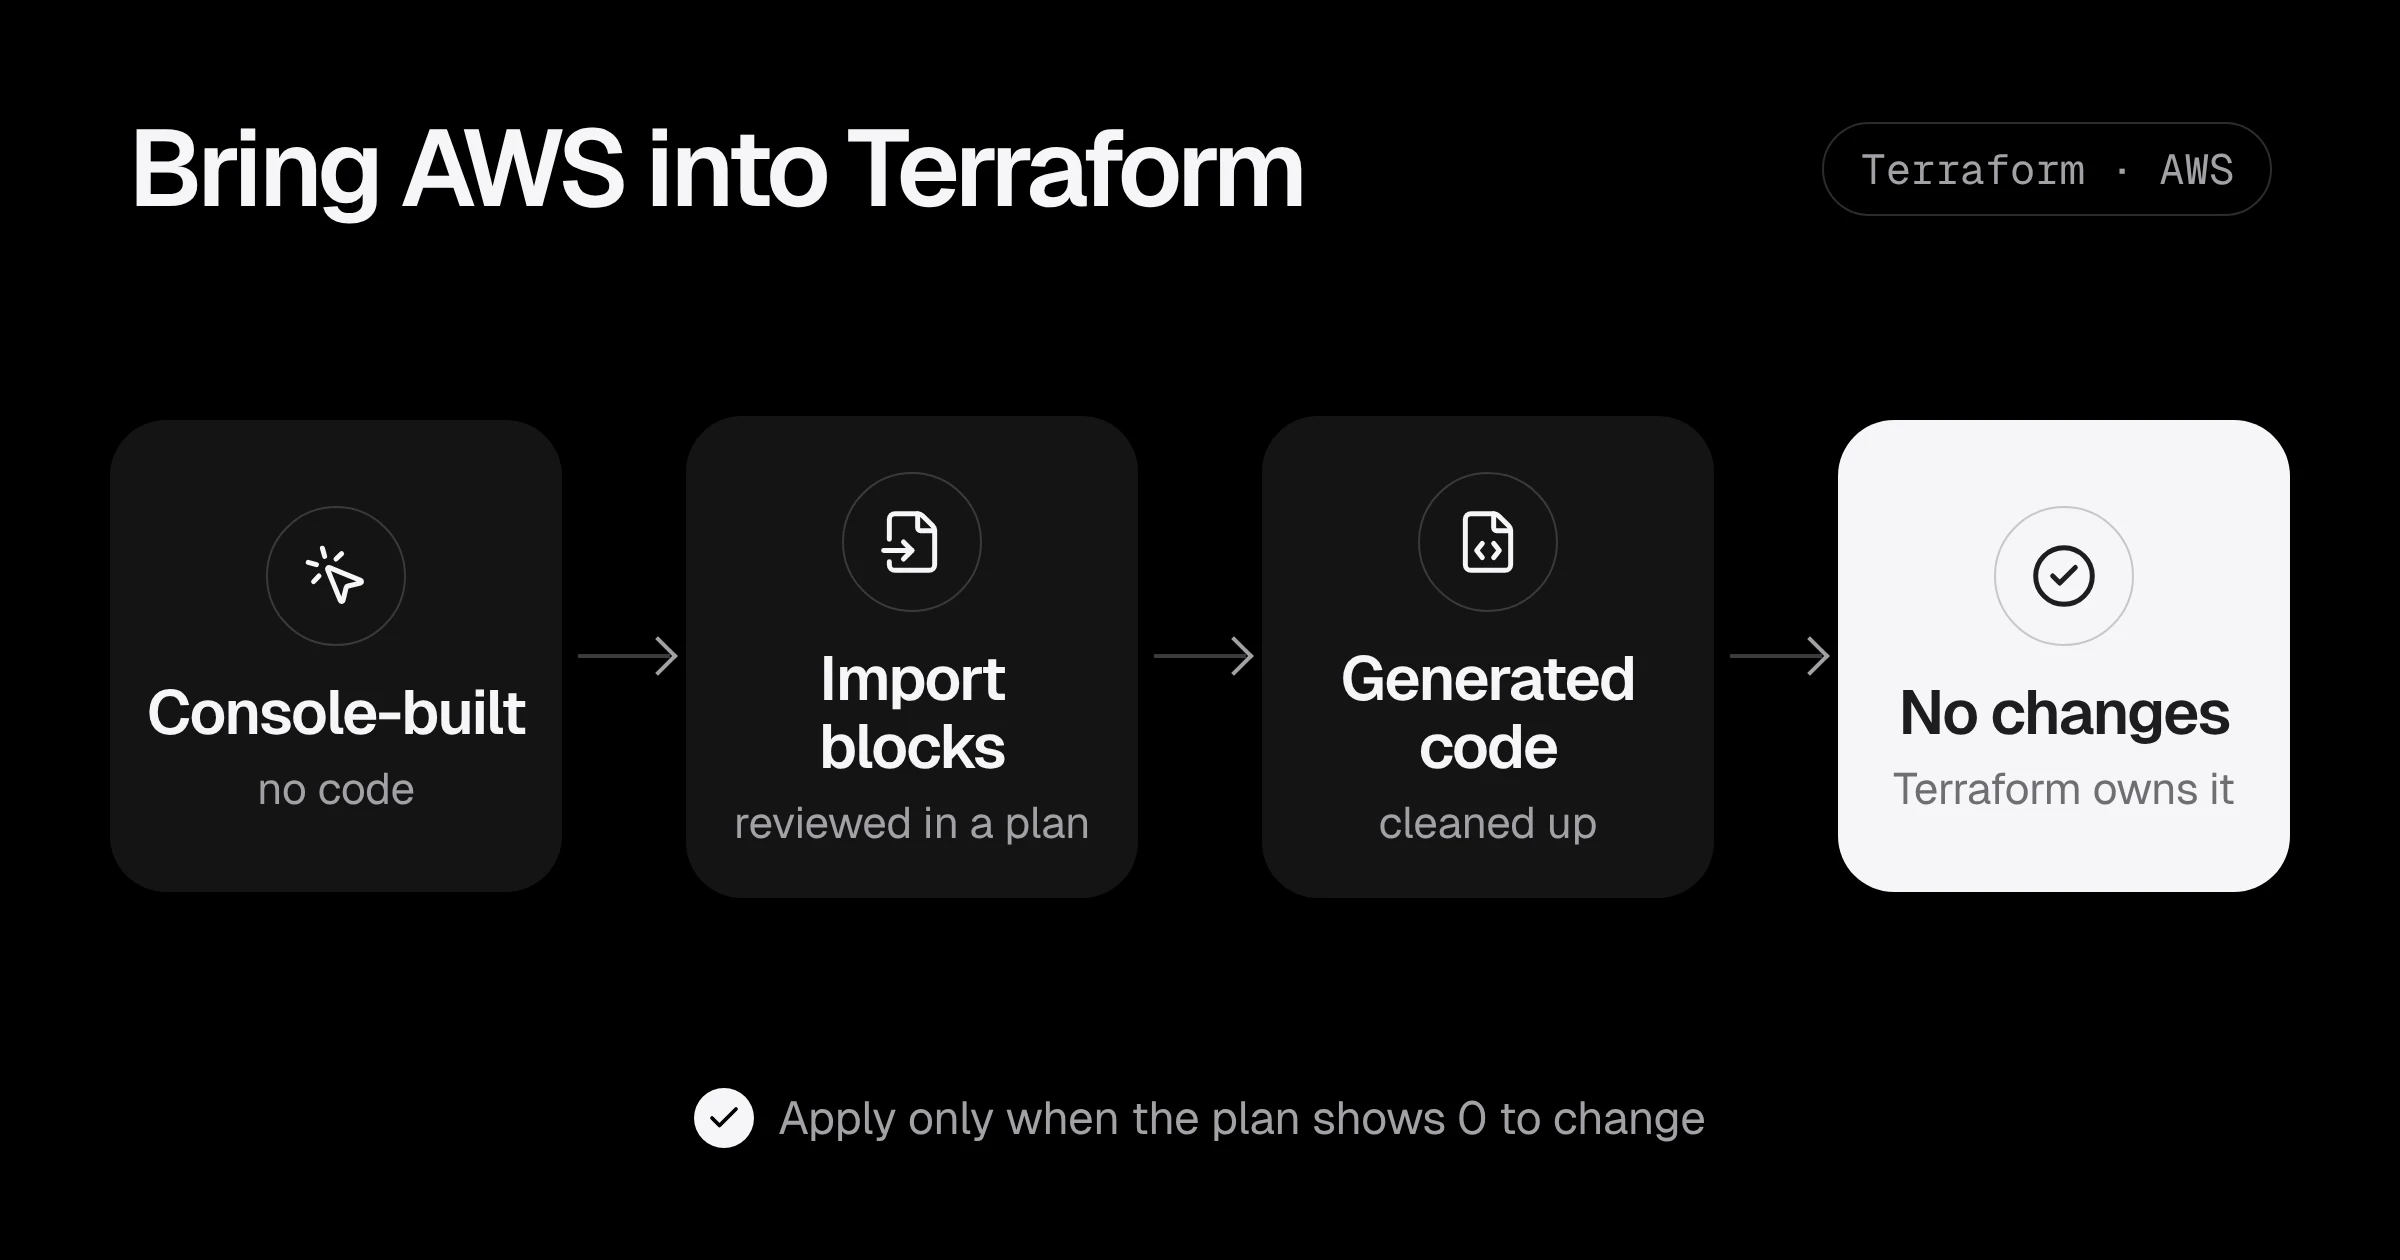
Almost every startup I work with has the same AWS account: the first version was built by clicking in the console, a few parts were added in Terraform later, and nobody is sure which is which. Rebuilding everything in Terraform from scratch is risky and slow. The better way is to import what already exists, so Terraform takes ownership of it without touching it.
Terraform has made this much easier. Import blocks (since 1.5) turn an import into a normal, reviewable plan. Config generation writes the first draft of the code. And terraform query (since 1.14) can search the account for you. This post walks through the safe order, with the commands.
The rule: imports should change nothing
An import has one job: tell Terraform “this real resource is this block in my code.” If you do it right, the plan after the import says:
Plan: 3 to import, 0 to add, 0 to change, 0 to destroy.Any number other than zero in add, change or destroy means your code does not match reality. Apply that and Terraform “fixes” production to match your code. That is how imports cause outages. Keep this rule in front of you the whole time.
Step 1: set up state and a separate folder
Before importing anything, make sure the state will be safe: remote, versioned, encrypted and locked. If you have not done that yet, follow Terraform remote state on S3 with KMS first.
Then import into a new folder (a separate state) per layer, for example network/, iam/, data/, compute/. Smaller states mean smaller plans to review, and a mistake in one layer does not block the others.
Pin the versions, because config generation and terraform query need recent ones:
terraform {
  required_version = ">= 1.14.0"
  required_providers {
    aws = {
      source  = "hashicorp/aws"
      version = "~> 6.0"
    }
  }
}
Step 2: list what exists
You cannot import what you have not found. Start with the network, because everything else depends on it:
aws ec2 describe-vpcs --query 'Vpcs[].[VpcId,CidrBlock,Tags[?Key==`Name`]|[0].Value]' --output table
aws ec2 describe-subnets --query 'Subnets[].[SubnetId,VpcId,CidrBlock,AvailabilityZone]' --output table
aws ec2 describe-security-groups --query 'SecurityGroups[].[GroupId,GroupName,VpcId]' --output table
Write the IDs into a simple table: what it is, its ID, which layer it belongs to, and whether it is still used. You will often find things to delete instead of import. Deleting is cheaper than owning.
Step 3: write import blocks
An import block says which address in your code gets which real resource:
import {
  to = aws_vpc.main
  id = "vpc-0abc123def4567890"
}

import {
  to = aws_subnet.private["a"]
  id = "subnet-0aaa111bbb222ccc3"
}

import {
  to = aws_subnet.private["b"]
  id = "subnet-0ddd444eee555fff6"
}
Since Terraform 1.7 an import block can use for_each, which is handy for sets of similar resources:
locals {
  private_subnets = {
    a = "subnet-0aaa111bbb222ccc3"
    b = "subnet-0ddd444eee555fff6"
  }
}

import {
  for_each = local.private_subnets
  to       = aws_subnet.private[each.key]
  id       = each.value
}
Each resource type has its own ID format: VPCs and subnets use their ID, IAM roles use the role name, S3 buckets use the bucket name, security group rules have a longer composite ID. The Import section at the bottom of each resource’s page in the AWS provider docs shows the exact format.
Step 4: let Terraform write the first draft
You do not have to write the resource blocks by hand. With import blocks in place and no matching resource block, run:
terraform plan -generate-config-out=generated.tfTerraform reads each real resource and writes a resource block for it into generated.tf. The draft is accurate but noisy: it includes every argument, including defaults and values AWS computed. Clean it up:
- Remove arguments that are just defaults.
- Replace hard-coded IDs with references, for example
vpc_id = aws_vpc.main.idinstead ofvpc_id = "vpc-0abc...". - Move repeated blocks into
for_each. - Move the cleaned blocks into your normal files, and delete
generated.tf.
Step 5 (Terraform 1.14+): find resources with terraform query
For bigger accounts, finding every ID by hand is the slow part. Terraform 1.14 added list blocks and the terraform query command (HashiCorp docs). In a file ending in .tfquery.hcl:
list "aws_instance" "prod" {
  provider = aws
  limit    = 100

  config {
    filter {
      name   = "tag:Environment"
      values = ["prod"]
    }
  }
}
Then:
terraform query                                   # print what it finds
terraform query -generate-config-out=generated.tf # write import and resource blocks
Two limits to know: only resource types the provider supports for listing can be queried (check the AWS provider docs for “list resources”), and -generate-config-out refuses to overwrite an existing file, so delete generated.tf before running it again. The output still needs the same clean-up as Step 4.
Step 6: plan until it says no changes
Now the important part. Run a normal plan:
terraform planRead every line. You are aiming for imports only. When the plan wants to change something, decide which side is right:
- The real resource is right (it is production, it works): change your code to match it.
- The code is right (a setting someone changed by hand by mistake): leave the code, but apply that change later, separately, as its own reviewed change.
Watch especially for replacement (-/+ or must be replaced). A replaced VPC, subnet, database or load balancer is an outage. Common causes are a wrong availability_zone, a different name, or an argument that cannot be changed in place. Fix the code until the replacement disappears.
Step 7: apply the import, then remove the blocks
When the plan shows only imports:
terraform applyThis writes the resources into state and changes nothing in AWS. Run terraform plan once more: it should say No changes. Your infrastructure matches the configuration.
After that, you can delete the import blocks, or keep them for a while as a record. They do nothing once the resource is in state.
The order I use for a whole account
- State backend (S3 bucket, KMS key), managed in its own small folder.
- Network: VPCs, subnets, route tables, gateways, endpoints.
- IAM: roles and policies used by services and CI. Leave human users for last, or move them to IAM Identity Center instead.
- Data: S3 buckets, RDS, DynamoDB, with
prevent_destroy = truein alifecycleblock. - Compute: launch templates, auto scaling groups, ECS services, EKS clusters.
- Edges: load balancers, CloudFront, Route 53 records, certificates.
After each layer, run the CI pipeline’s plan on a pull request so the next change goes through review instead of the console. And add a scheduled plan that tells you when someone changes something by hand again: see Terraform drift detection with GitHub Actions.
Terraform import checklist
- Remote, locked, encrypted state first.
- One folder and one state per layer.
- List what exists, and delete what is unused instead of importing it.
- Write import blocks, with
for_eachfor sets. - Generate config, then clean it up into readable code.
- Plan until it shows only imports: no add, no change, no destroy.
- Apply, check for “No changes”, then move to the next layer.
Before you start, it is worth reading the Terraform mistakes that cost hours. If you would like help bringing your account under Terraform, that is exactly what the Terraform consulting service does, or start with a Free AWS Review.
Syntax is from the Terraform import block documentation and bulk import with list blocks, checked in November 2026.
Common questions
How do I import existing AWS resources into Terraform?
Write an import block with the resource address and the AWS ID, run terraform plan -generate-config-out=generated.tf to create the resource code, clean up that code, and apply when the plan shows only imports and no changes.
What is the difference between terraform import and import blocks?
terraform import is a command that changes state immediately, one resource at a time, with no plan. Import blocks live in your code, show up in terraform plan for review, can import many resources at once, and work in CI.
What does terraform query do?
Added in Terraform 1.14, it reads list blocks in .tfquery.hcl files to search your cloud account for resources of a type, and can generate import and resource blocks for everything it finds. It only works for resource types the provider supports for listing.
Will importing a resource change or recreate it?
The import itself only writes to Terraform state. But if your resource code does not match the real resource, the same plan will also try to change or replace it. That is why you apply only when the plan shows imports and no other changes.
Should I import everything at once?
No. Import one layer at a time: network first, then IAM, then data stores, then compute. Each layer gets its own reviewed plan.
Want this set up for your team?
I build this kind of infrastructure for startups and small teams, with fixed prices and full handover.