3 Kubernetes mistakes that crash your pods (and the fix for each)
Three Kubernetes mistakes behind real outages: missing resource requests and limits, no readiness probe, and the latest image tag. Each is a few lines to fix.
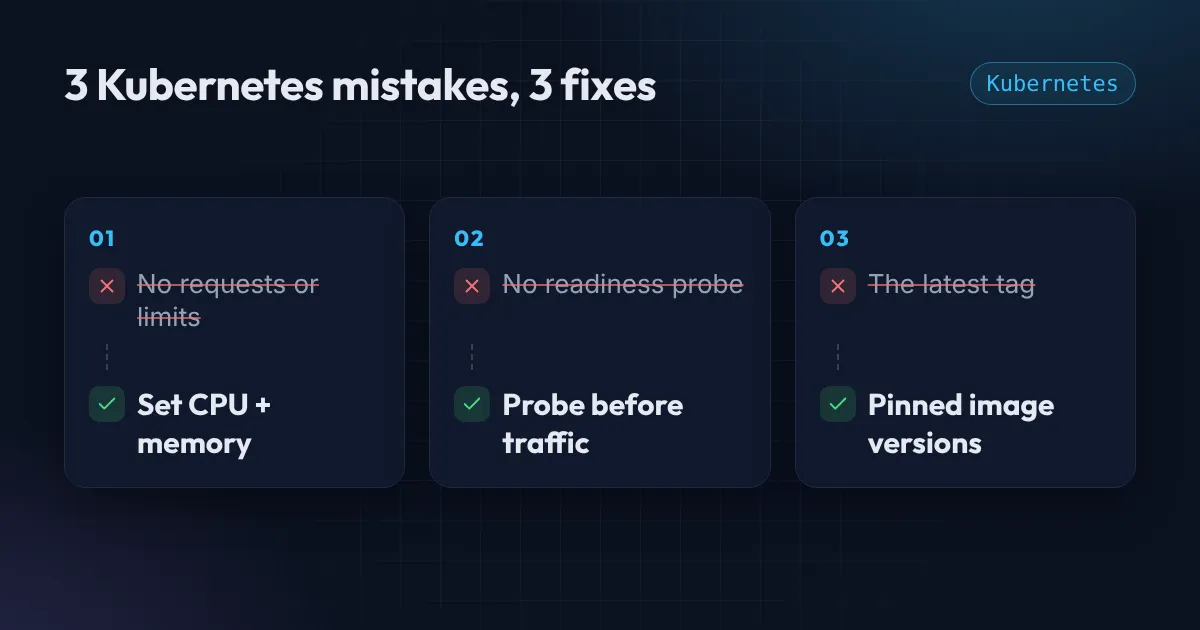
Most Kubernetes outages I get called in for are not exotic. They come from three Kubernetes mistakes: details missing from a Deployment manifest. Each one works fine in testing and fails under real load, which is why they survive so long.
Mistake 1: No resource requests or limits
Without requests and limits, Kubernetes does not know how much a pod needs, and nothing stops one pod from taking everything on the node.
- Requests tell the scheduler how much CPU and memory to reserve. They decide where the pod can be placed.
- Limits cap how much the container may use. A container that goes over its memory limit is killed with an
OOMKilledstatus.
resources:
  requests:
    cpu: 250m
    memory: 256Mi
  limits:
    memory: 512Mi
Some practical rules:
- Always set memory requests and limits. Running out of memory is what takes nodes down.
- Set a CPU request, and think carefully before adding a CPU limit. A tight CPU limit can throttle your application even when the node has spare capacity.
- Base the numbers on measurements, not guesses.
kubectl top podsshows current usage, and the Vertical Pod Autoscaler in recommendation mode can suggest values from real traffic.
If a pod keeps restarting, run kubectl describe pod <name> and look for OOMKilled under the last state. It is the quickest way to spot this mistake.
Mistake 2: No readiness probe (and a risky liveness probe)
When a pod starts, the application usually needs a few seconds to load config, open database connections, and warm up. Without a readiness probe, Kubernetes sends traffic to the pod the moment the container starts, and the first users get errors.
readinessProbe:
  httpGet:
    path: /healthz
    port: 8080
  initialDelaySeconds: 5
  periodSeconds: 10
A readiness probe says “do not send traffic until this passes”. It also removes a pod from the Service if it later becomes unhealthy, so traffic goes to the others.
Know the three probe types so you do not mix them up:
- Readiness controls whether the pod receives traffic.
- Liveness restarts the container if it is stuck. Use it carefully, because a badly tuned liveness probe can restart healthy pods and make an outage worse.
- Startup gives slow-starting applications extra time before the other probes begin.
Make the health endpoint honest. It should check what the application actually needs, not just return 200 unconditionally.
Mistake 3: Using the latest tag
image: api:latestlatest is just a tag, and it moves. Two pods of the same Deployment can end up running different code, depending on when each node pulled the image. When something breaks, you cannot answer “which version is running?”, and a rollback has nothing to roll back to.
Pin a specific version:
image: api:1.4.2For the strongest guarantee, pin the digest, which identifies the exact image content and cannot be changed:
image: api@sha256:3f1a...With pinned tags, kubectl rollout undo actually returns you to the previous version, and your Git history shows exactly what was deployed and when.
Kubernetes mistakes checklist
- Every container has memory requests and limits, and a CPU request.
- Every service has a readiness probe that checks something real.
- Liveness probes are tested, not copied from a tutorial.
- Images use a pinned version or digest, never
latest. - You know how to read
kubectl describe podfor restart reasons.
Before you apply a manifest, run it through the free YAML formatter and validator, and read 3 YAML mistakes that break Kubernetes and GitHub Actions deploys for the errors that are not about pods at all.
A short video walks through the three fixes. If your cluster has outages you cannot explain, or you want a review of your manifests, my Free AWS Review is a good starting point, or get in touch.
Want this set up for your team?
I build this kind of infrastructure for startups and small teams, with fixed prices and full handover.